Thursday, May 8, 2014

Memory Game For Dad


Items you'll need:

Pictures
Cardstock
Glue Stick
Fun sayings from your kids  
Scissors/Paper cutter
12 Simple Steps:

1. Choose pictures you want to use for the top of your cards.  I chose 30 pictures for 30 cards.  You can choose as little or as many as you like, but you want to make sure there's an even number.

2. Once I chose the pictures, I wanted to edit them and make them the correct size.  I used picmonkey.com. It's a free site that allows you to make a collage of pictures.  My mistake was making the collage the wrong size in the beginning, so printing them wasn't as efficient as it could have been.  If you are going to print an 8x10 picture, make sure your collage of pictures measures that size.  I absolutely LOVE picmonkey.

3. Once you have your pictures completed to your liking, either print them off on photo paper at home or go to your favorite place to do it.  Another thing to think about is the size of your pictures for laminating.  I failed to realize my pictures were a large size for laminating.  I could only fit 4 pictures on one sheet of lamination paper and had a good amount of the paper that wasn't being used.  I was lucky to have my own laminator with plenty of lamination paper on hand.

4. After printing off your pictures, cut them out in columns/rows.  You can choose to cut them however, but I found it easier to cut them in columns/rows first.


5. Choose your background cardstock.  I chose three different colors.  You can choose however many colors you want.


6.  Cut out the cardstock a little larger than the picture. You want the color to show as a border to the picture.


7.  Cut your pictures out individually.  As you cut your pictures, you can also cut your cardstock at the same time.  Measure to fit appropriately.


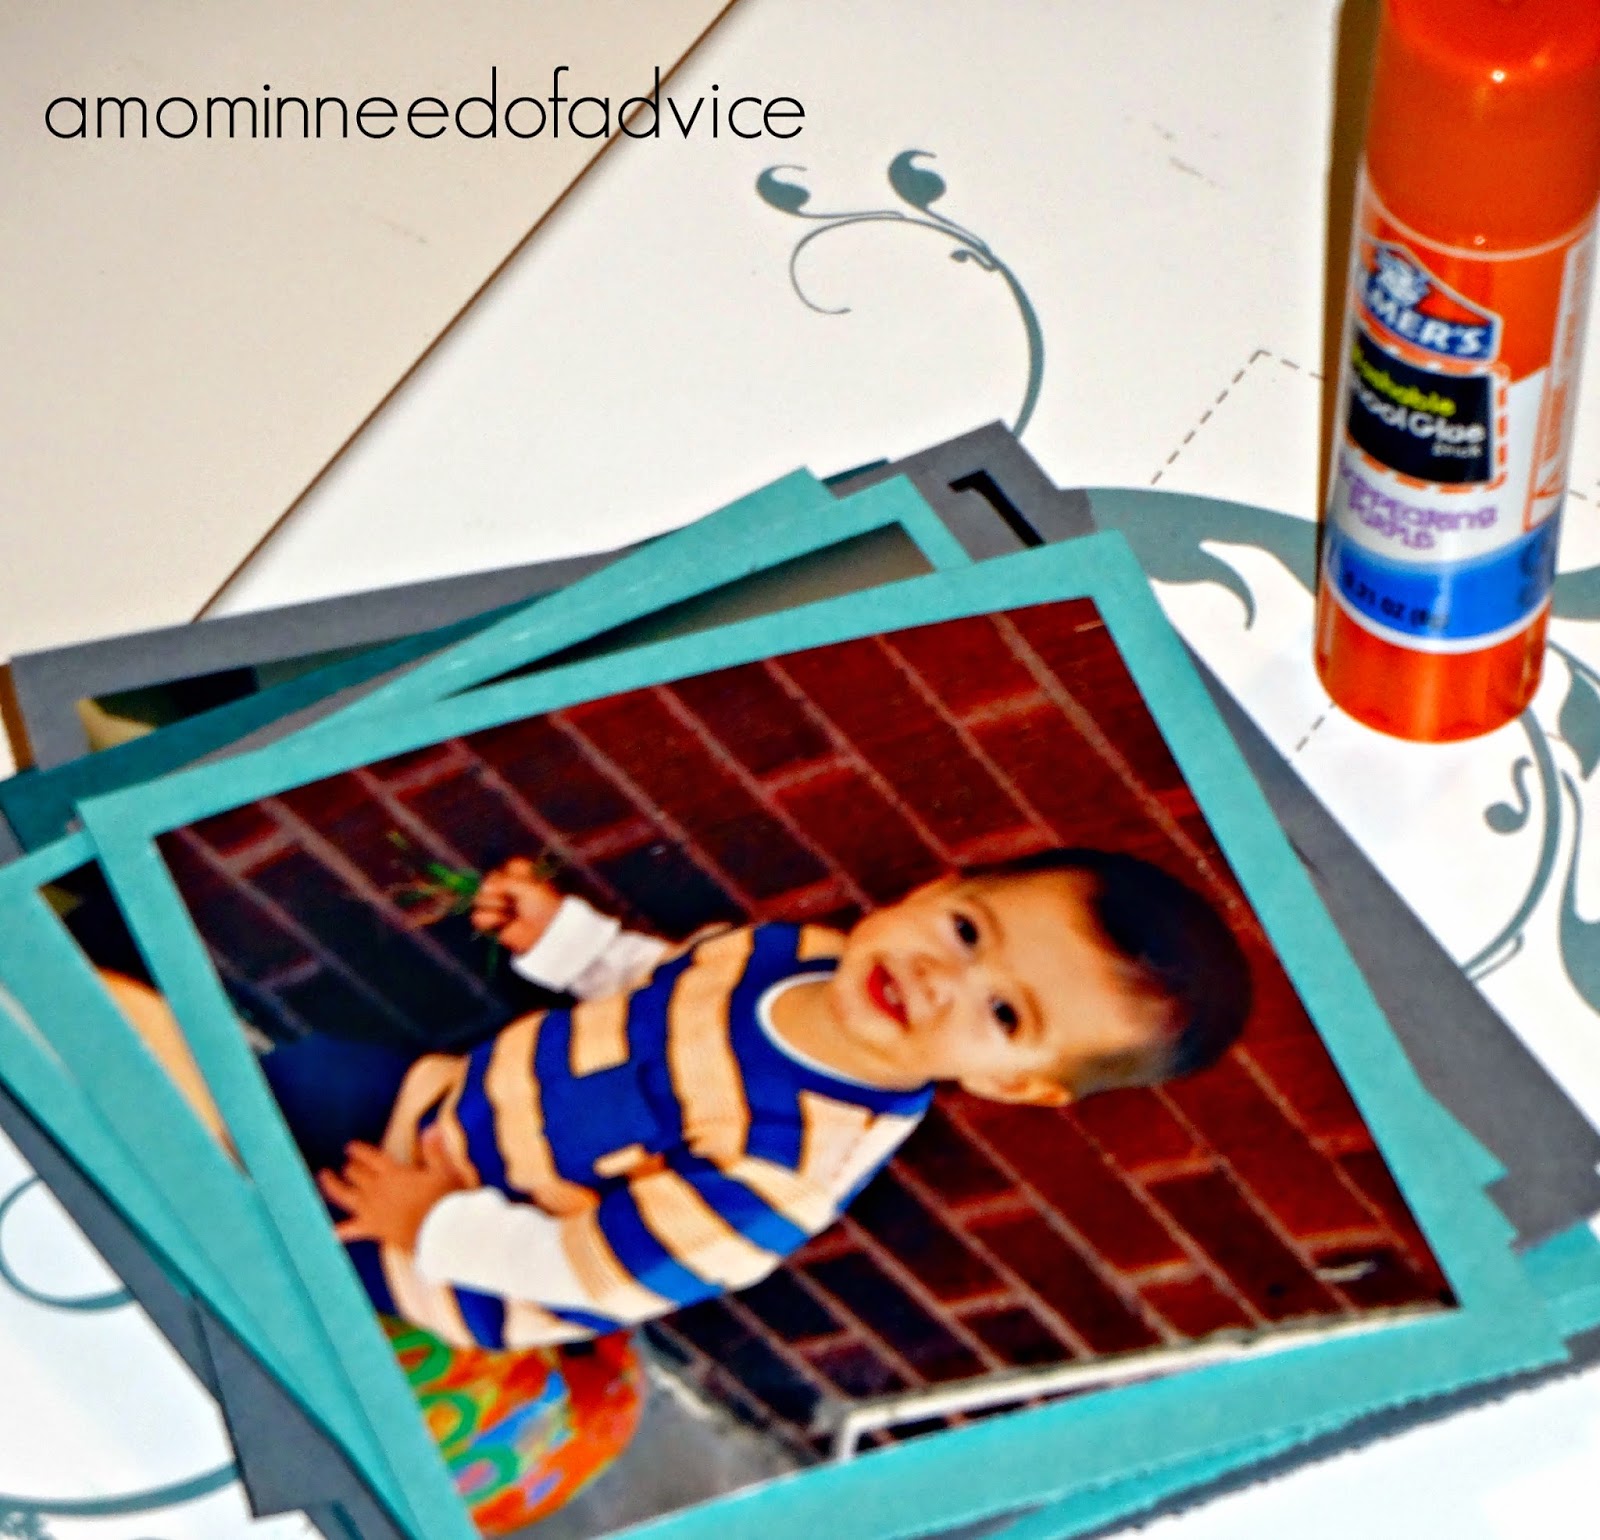
8. Glue all your pictures to their cardstock backs.


9. Type all your kid sayings that you want to use for the backs of the memory cards.  These sayings are what will be matched.  You need two copies of each saying.


10. Cut out and glue all your sayings to the backside of your memory cards.


12. Let the lamination process begin.  If you don't have your own laminator, take it into Kinkos.  They do a great job.


What it should look like when you are finished:


I found a match!


I also made a memory box for all the cards to go in.

I found a puzzle box and took some mod podge to it.  Use your creativity to make it your own.


The final product that your husband will LOVE!


Memory Book

I started with a blank book my sister gave me as inspiration for this project.  She bought it at Target.


Grabbed a few supplies...


and started to work. 
I wrote my title first and then started using the stickers to make my words.  
The words I chose to put on the cover are from memories that I write about in the book.


The front page looks like this:


The rest of the pages hold memories.
.

The finished product.


Home-made Shirts

The first thing to do is buy Fabric Transfers.  
You can buy these at Amazon, Target, Michaels...I bought mine at Wal-Mart. 
There are different types of fabric transfers for colored shirts vs. white shirts.  
Make sure to buy the right one for the color of shirt you are doing.


Make your design on the computer.  I found my pictures online and inserted them in Microsoft Word.  I then inserted the font using Word Art.  
I choose Word Art because it flips the font and picture horizontally.  
You don't want to forget to flip the text and picture horizontally.


After you're finished creating your design, cut them out.  
Leave some extra space around your design. 
You're now ready to iron them on your t-shirt.  
The Fabric Transfers come with a sheet of instructions as well, 
if you need more detailed instructions.


EASY PEASY!


Tuesday, April 29, 2014

Magnetic Quiet Book


Supplies needed:
Magnetic paint ( I bought this at Michaels.  Never buy anything at Michaels for full price.  Always check their site for coupons.  I absolutely love Michaels. It's where I buy all my crafty stuff.)
Foam paint brush
Magnets with adhesive back ( I purchased mine from Amazon. Make sure they are STRONG.  Weak magnets won't work.)
Cardstock (Any color you choose.  You'll need 2 sheets for one page.)
Pictures (I go to D.I. and buy children's books and cut them up or find them online.)  
Plastic Ziploc bags
Tape

Optional:  (This list is entirely up to you.  It just depends on how you want to create your pages.  As you can see with mine, I used a little of everything)
Markers
Crayons
Colored pencils
Stickers
cut outs
glue stick
2 metal book rings
hole punch

Getting Started
The first thing you want to do is make sure your paint is mixed well.  Grab a plastic spoon or wooden stick and mix, mix, mix.

Now you're ready.

Grab two pieces of cardstock.  If you want to add any details to your background, do that before adding any paint.

I wanted to add lines, so I made sure to do it before. 


Take both pieces of cardstock, turn them over to their backsides and paint 2 coats of the magnetic paint on both pages.  You can leave some breathing room near the edges of the pages. 

Once you are finished with painting, stick the two pages together using the paint as an adhesive.  Don't worry if the page becomes a little wavy.  That's normal. Let the page dry for the directed amount on the can before laminating. The paint I purchased says to wait 24 hours.  

Nearing the 24 hour mark, if there's anything else you want to add to your background, this is the time.  I wanted to add stickers.  I could have added stickers before adding the paint, but I chose to do it after.  Either works.


Your page is now ready to be laminated.  I tried using my at-home laminator, but it wasn't strong enough to make a great seal.  I took my pages to Kinkos and their laminator worked great.  I used my at-home laminator for the rest of the project.

Cut out the pictures you want to attach to magnets and laminate those.


Cut and shape the pictures from the lamination and attach the adhesive magnets to the back.


Once you've laminated your page,


add your picture magnets and TADAH...your kiddos will love it.


I like to put the magnets in a ziplock bag and tape it to the backside of my page.

Tip: I put my hand in the bag while I tape.

If you want to make more than one page, I combine them all using 2 metal book rings.  One near the top and one near the bottom. I use a hole punch to make the holes.

My Magnetic Book pages are very simple.  You can choose to make them however you want, that's what I love about this project.


Monday, April 28, 2014

Plastic Bag Solution

This tutorial is SUPER SIMPLE.

Find an old oatmeal container or something similar.


Select your choice of scrapbook paper and cover the outside of the container. After completely covering the outside, print off your label.  Use a glue stick to paste your label wherever you prefer.  Lastly, use packing tape and cover the entire container with tape.

The final product:


Quick and easy storage for all your plastic bags.