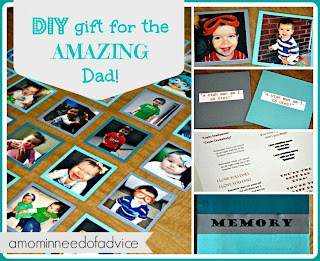
Items you'll need:
Pictures
Cardstock
Glue Stick
Fun sayings from your kids
Scissors/Paper cutter
12 Simple Steps:
1. Choose pictures you want to use for the top of your cards. I chose 30 pictures for 30 cards. You can choose as little or as many as you like, but you want to make sure there's an even number.
2. Once I chose the pictures, I wanted to edit them and make them the correct size. I used picmonkey.com. It's a free site that allows you to make a collage of pictures. My mistake was making the collage the wrong size in the beginning, so printing them wasn't as efficient as it could have been. If you are going to print an 8x10 picture, make sure your collage of pictures measures that size. I absolutely LOVE picmonkey.
3. Once you have your pictures completed to your liking, either print them off on photo paper at home or go to your favorite place to do it. Another thing to think about is the size of your pictures for laminating. I failed to realize my pictures were a large size for laminating. I could only fit 4 pictures on one sheet of lamination paper and had a good amount of the paper that wasn't being used. I was lucky to have my own laminator with plenty of lamination paper on hand.
4. After printing off your pictures, cut them out in columns/rows. You can choose to cut them however, but I found it easier to cut them in columns/rows first.
5. Choose your background cardstock. I chose three different colors. You can choose however many colors you want.
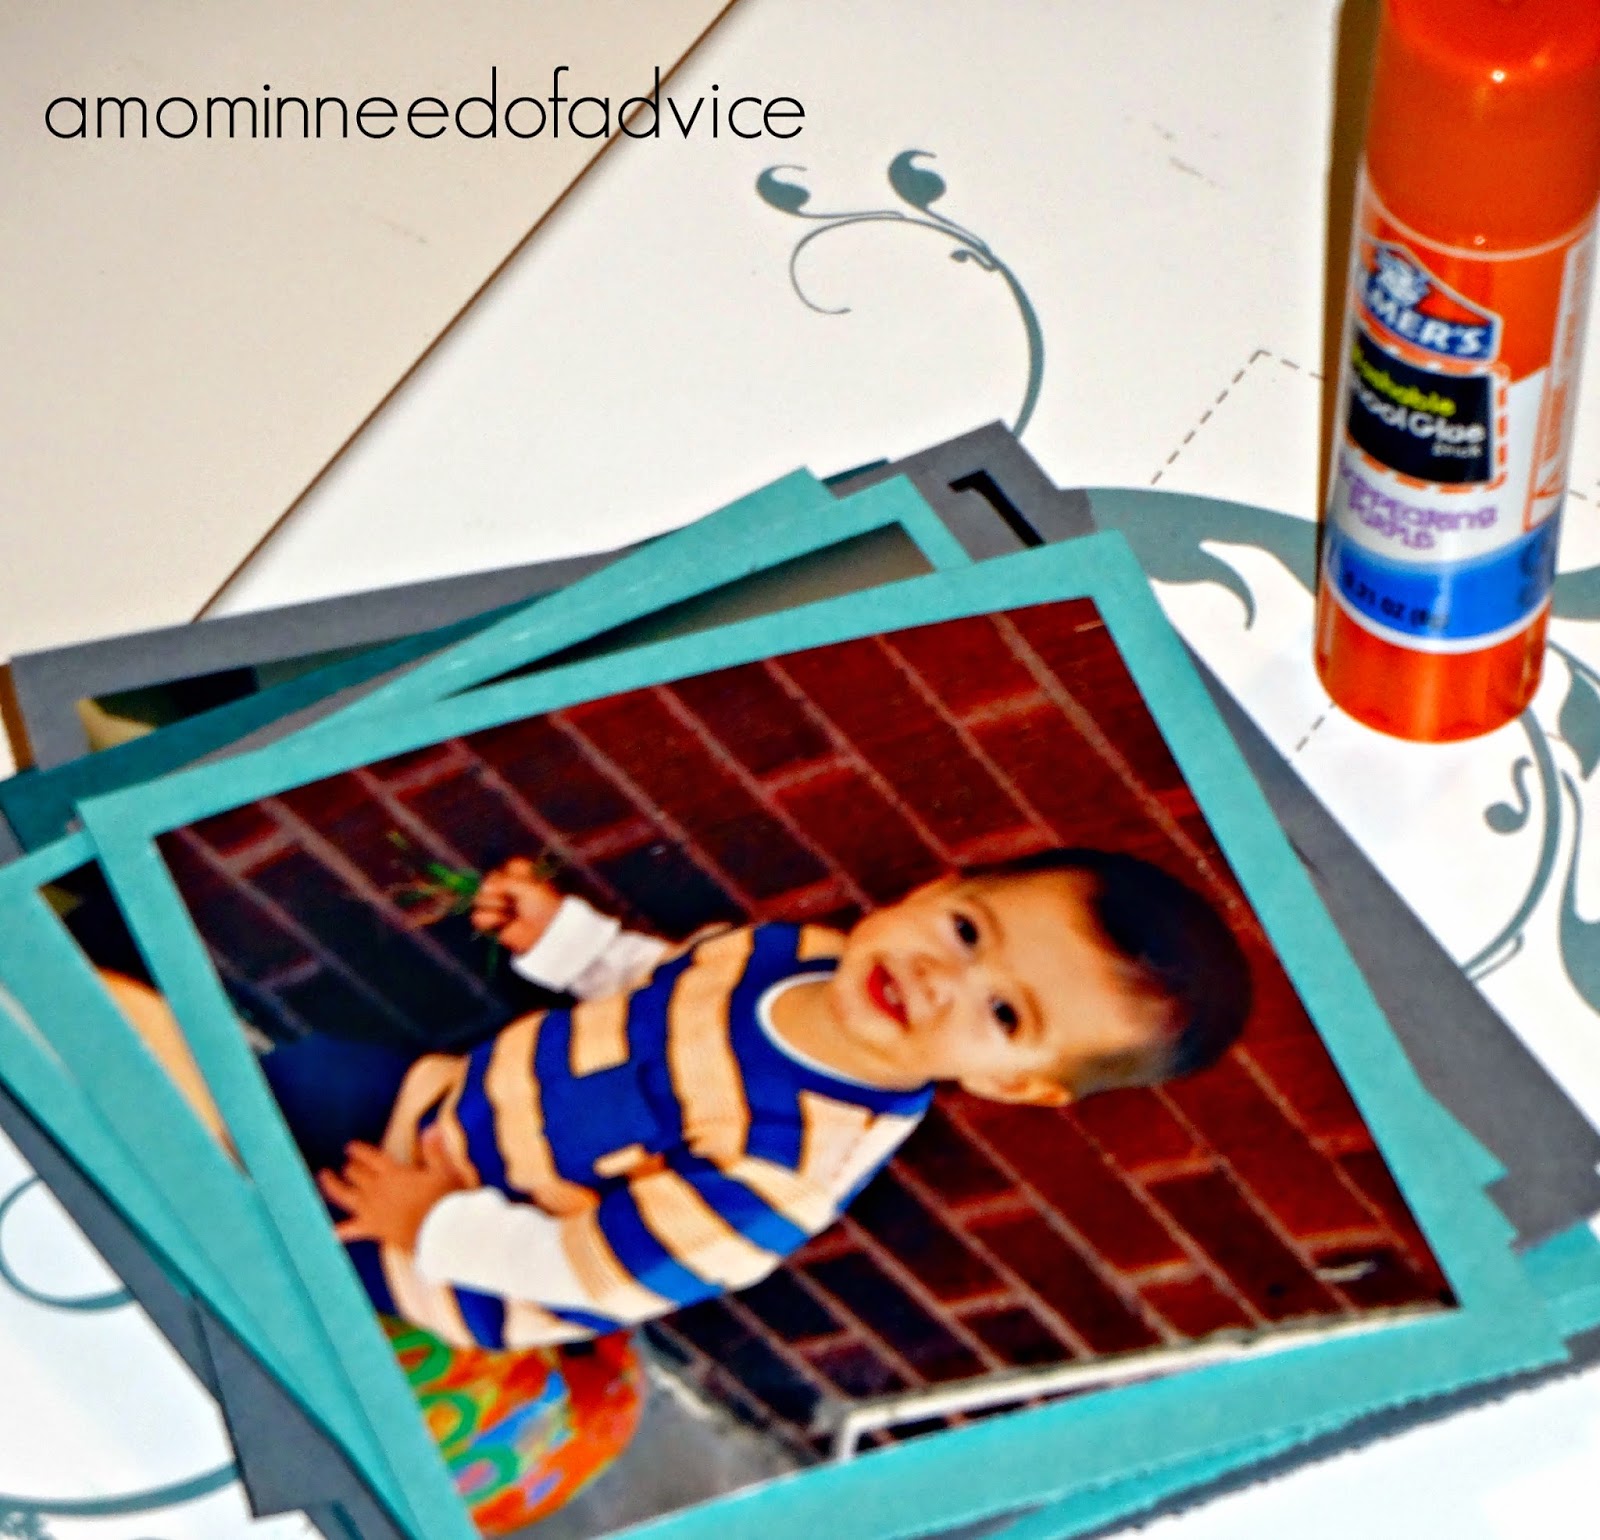
6. Cut out the cardstock a little larger than the picture. You want the color to show as a border to the picture.
7. Cut your pictures out individually. As you cut your pictures, you can also cut your cardstock at the same time. Measure to fit appropriately.
8. Glue all your pictures to their cardstock backs.
9. Type all your kid sayings that you want to use for the backs of the memory cards. These sayings are what will be matched. You need two copies of each saying.
10. Cut out and glue all your sayings to the backside of your memory cards.
12. Let the lamination process begin. If you don't have your own laminator, take it into Kinkos. They do a great job.
What it should look like when you are finished:
I found a match!
I also made a memory box for all the cards to go in.
I found a puzzle box and took some mod podge to it. Use your creativity to make it your own.
The final product that your husband will LOVE!


No comments:
Post a Comment